This year, I’ve been experimenting with traveler’s notebooks (TN), on a few of our longer trips we have taken as a family. Henry is still taking multiple naps during the day, and goes to sleep relatively early, so I knew we would have more downtime that usual on our trips. I thought it would be fun to try the “scrapbooking-on-the-road” approach to fill that time, and to have more up-to-the-minute journaling about where we were and what we were doing.
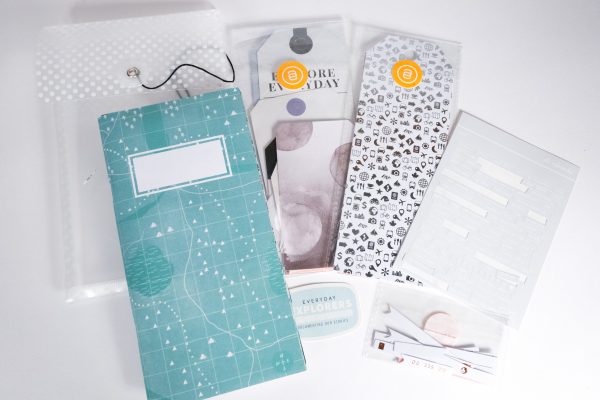
The first decision I needed to make was figuring out what to bring. First, I picked the container I wanted to use to hold my stuff. For the first trip, I chose one of the zippered bags from Ali Edwards’ Stories By The Month kits. I liked this bag because it, a) had a zipper, and, b) the plastic was heavy enough that my materials wouldn’t get damaged inside. Then,I went through my stash and laid out all of the items I would *like* to take. This included stickers, stamps, adhesive, chipboard, die-cuts, tiny attacher, ink, and more! I then sorted out my “non-negotiable” items, then sorted again, and kept pairing down until everything except my printer fit in my bag. *Update, I added some links for easy reference if you want to do some shopping!*
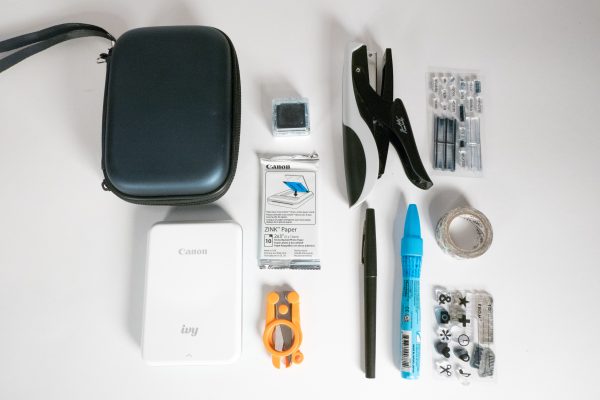
The main “gear” items I bring are:
- Canon Ivy Printer with 3-4 packets of printer stickers.
- Folding scissors.
- Small ink. I like these tiny ones from Ali Edwards.
- Tiny attacher by Tim Holtz.
- Pen – I like flair pens, but I also like Ali’s Edwards precision pens as well.
- Glue pen.
- Washi tape of your choosing.
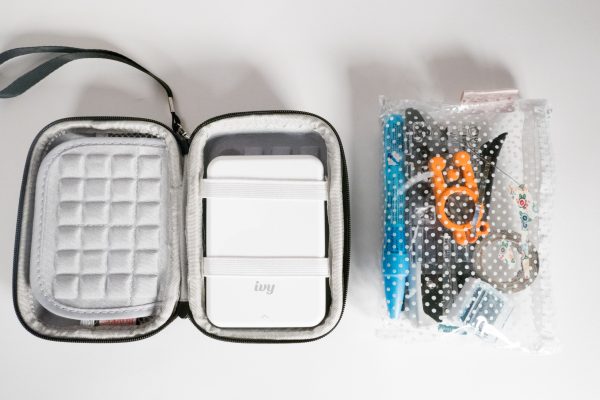
The printer fits in this handy little holder, which also holds the paper stickers. I chose the Canon Ivy over the HP pocket sprocket after reading loads of reviews saying that the HP printer created prints that were quite dark. I have to say, the prints from the Ivy are also dark, so I correct for that as much as I can in the Canon Ivy app. I like that it holds a charge for several days, connects quickly and easily to my phone, and the print quality is pretty decent for a travel printer.
All of the rest of my gear fits in a small, zipped bag. This one is from Ali Edwards, but I also have ones from Studio Calico. I tend to reuse the bags from subscription kits as they are more durable that a ziplock bag.
I have used traveler’s notebooks for three trips now, and I can say that I honestly enjoy them. I love looking back on my thoughts in the moment, and they give me an excuse to journal every day. It also helps to have a creative outlet while traveling, especially during Henry’s naps. I also enjoy the challenge of using a very constrained collection of materials. It forces me to use what I have, and to be both consistent and creative with my layouts.
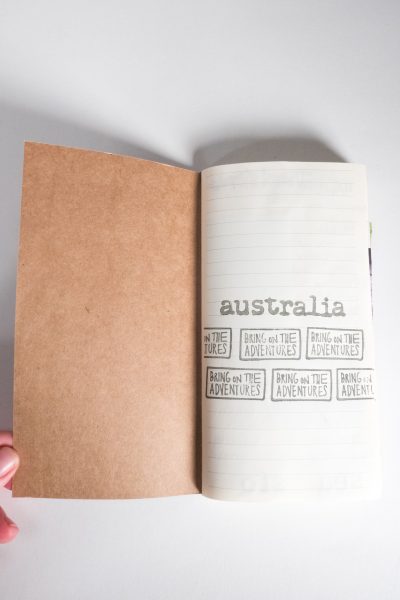
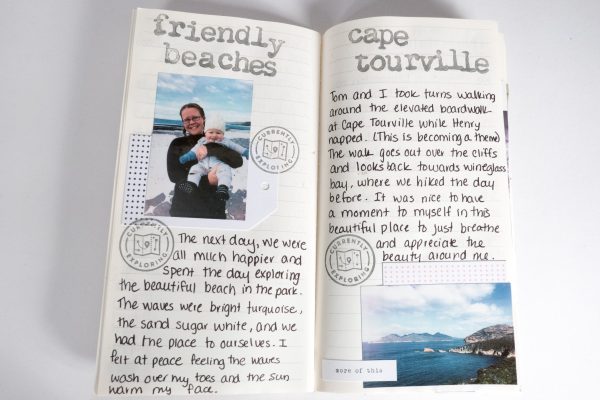
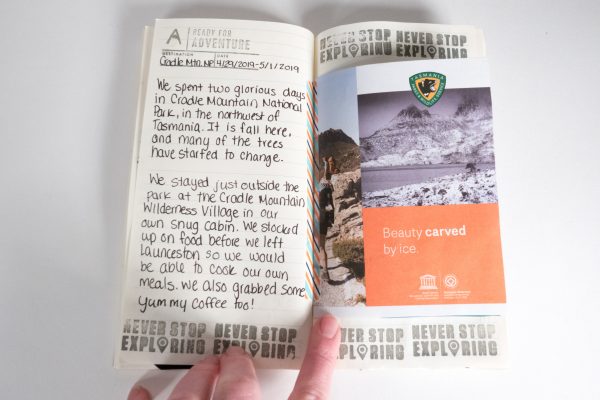
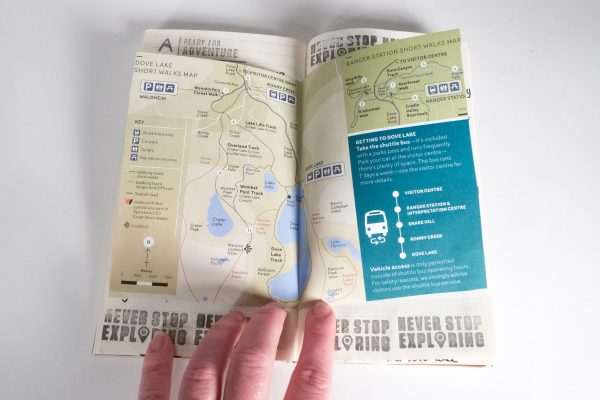
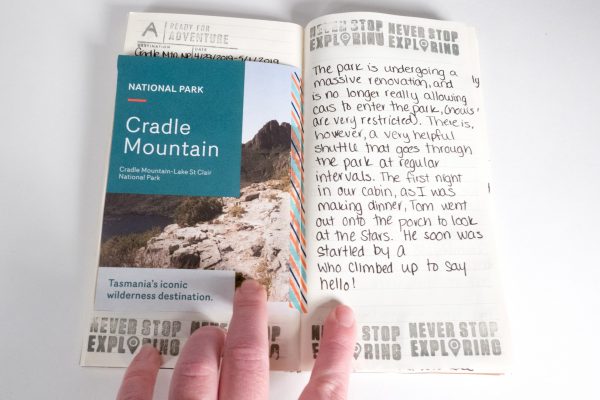
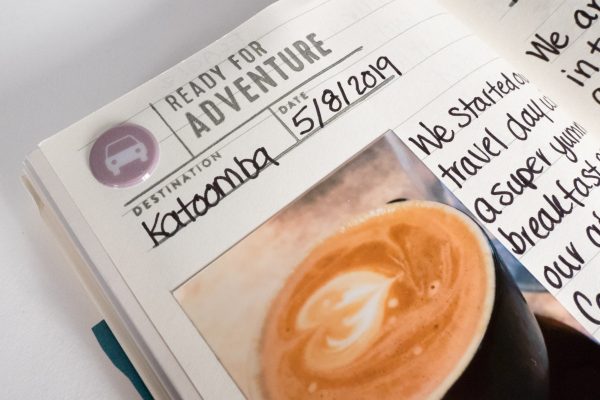
This first traveler’s notebook was created during our three-week trip to Australia. I tried to have repeated elements day over day, such as the headings and stamps that I used. I also used washi tape to add ephemera collected along the way.
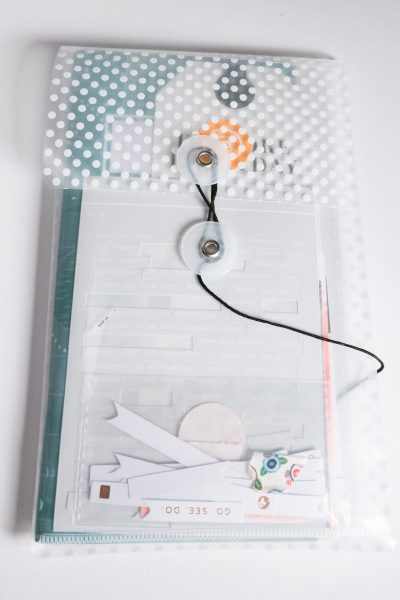
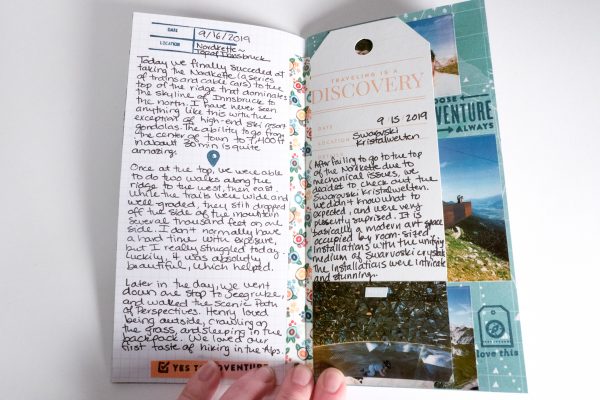
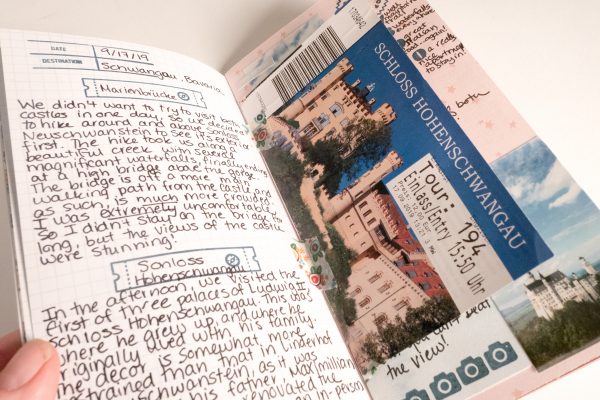
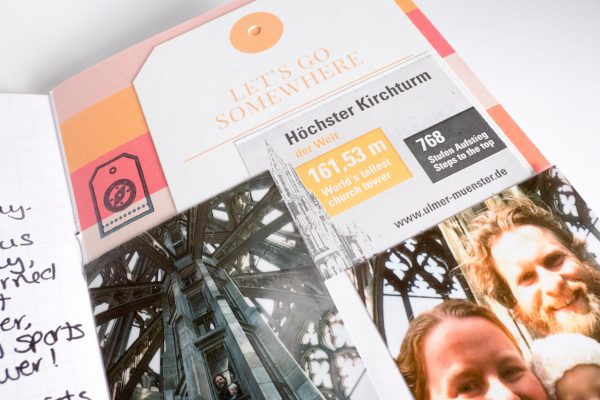
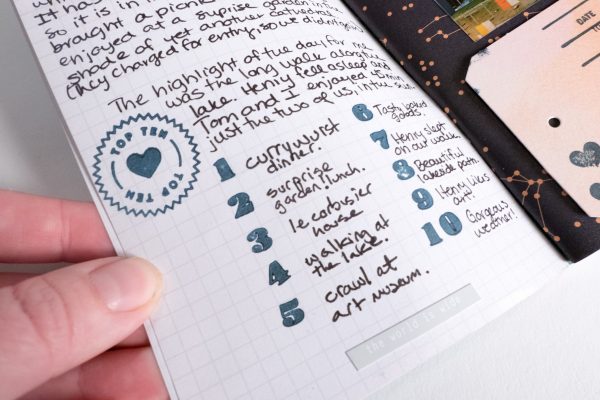
The next traveler’s notebook I created was for our trip to Europe this fall. I used a slightly different setup, mostly because I wanted a way to safely carry the large shipping tags from Ali Edward’s Travel Collection. This taller envelope fit not only the tags, but the notebook its self, which was nice. My gear setup, (scissors, printer, etc), was all the same. For this notebook, I even got Tom to write in it one day. I really like having his handwriting and voice included in this notebook.

So far, I have really enjoyed working with traveler’s notebooks, and I plan on continuing to use them for future travel.
As an Amazon Associate I earn from qualifying purchases .
Be First to Comment